Kevin Zhao, Head of Engineering at XC Machining, brings 12 years of manufacturing engineering experience, particularly in prototype-to-production transitions for consumer electronics, automotive, and medical device programs. For NPI managers, the timing of that transition is a high-stakes financial and technical decision. Commit to hard tooling, dedicated fixtures, and production process validation before the design is genuinely frozen, and later engineering changes can trigger $5,000–$40,000 in rework depending on tooling complexity. Wait too long, and you may keep machining aluminum parts at $150 each when a frozen design could be produced at $45 per part.
The shift to production is not a calendar milestone. It is a set of engineering and business conditions that, when satisfied together, make production machining more economical and technically sound than continued prototyping. The goal is to define those conditions clearly, calculate the break-even point, and give NPI managers a practical checklist for confirming design freeze before production tooling is approved.
The first readiness signal is ECO silence. If the drawing has not changed for three or more weeks, and the remaining open items are cosmetic or secondary, the design is probably stable enough for production tooling. If engineering changes are still arriving at any pace, delaying production commitment protects you from validating a process around a moving target.
The second signal is a clean prototype first article. When inspection passes without out-of-spec dimensions or required corrective actions, the process has a strong green light. If the first article needed two or three iterations to conform, resolve the root cause during prototyping before locking in production tooling.
The third signal is break-even volume. Calculate it as production tooling investment divided by the difference between prototype per-part cost and production per-part cost. For example, with $8,000 in tooling, a $180 prototype cost, and a $55 production cost, break-even is $8,000 ÷ ($180 − $55) = 64 parts. If six-month demand is 200 parts, production is justified: tooling pays back in 64 parts and saves $25,000 across the remaining 136 parts. If demand is only 40 parts, stay in prototype mode until volume supports the investment. For a simple aluminum bracket with $2,500 in tooling and a $105 per-part saving, break-even is 24 parts. For a complex assembly with $12,000 in tooling and $620 per-part saving, break-even is about 19 parts. Most programs break even between 15 and 75 parts.
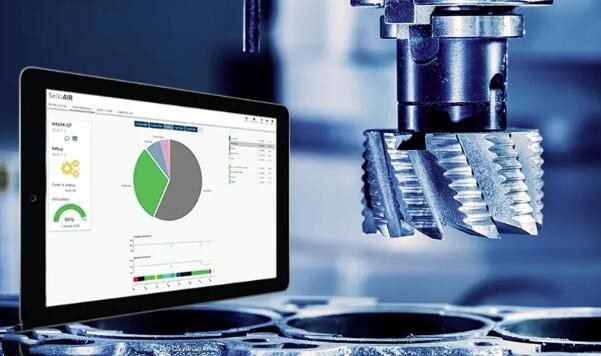
The fourth signal is final surface finish requirements. Production machining is optimized around a specific finish specification. Changing that callout after tooling is cut can require process re-validation costing $2,000–$8,000 or more, depending on scope. Confirm that the drawing’s finish requirement matches what the production process will deliver before fixture design and tooling commitment.
The fifth signal is documentation alignment. If your program requires PPAP, ISO 13485 DHR, or AS9100 FAI documentation, verify that the production supplier can deliver it before the first production shipment. A supplier that machined prototypes using a prototype workflow is not automatically prepared to provide production-level quality documentation without a managed process transition. XC Machining handles this explicitly: prototype workflow, process capability study, then production workflow with validated documentation.
Financially, the switch makes sense when cumulative production savings exceed the tooling investment within the forecast demand window. All five conditions should be met: design frozen with no ECOs for three or more weeks, first article passing without corrective action, forecast exceeding break-even volume, surface finish requirements finalized, and the supplier’s quality documentation system aligned with your program. Meeting four of five is not enough. Each unmet condition represents a specific downstream rework or re-validation cost.
Every design change after production tooling commitment creates a tooling change order. Minor changes, such as adding a hole or adjusting a radius, typically cost $500–$2,000 each. Feature-level changes, such as adding an undercut that requires a new slide, cost $2,000–$8,000. Drawing-level changes, such as altering the datum structure, can require new fixturing at $3,000–$15,000. Across a typical NPI program with three to five post-commitment design changes, premature tooling commitment can cost $5,000–$40,000 in avoidable rework.
Using the same supplier for prototypes and production is often the preferred model. The production supplier has already characterized the part during prototyping, so it understands the difficult features, proven tool paths, and fixture stability requirements. Re-qualifying a new production supplier from scratch can add 4–12 weeks of transition time and first-article risk. XC Machining provides rapid prototyping and production machining under one quality system, with documented change management separating the two workflows so prototyping flexibility does not compromise production repeatability. Submit your files at xcmachining.com.